Need help uploading your contacts? Learn how to import prospects to monitor for database marketing alerts from a CSV file.
To upload your prospects, log into your MonitorBase account, then follow these steps:
Step 1: Navigate to the Contacts Tab
- On the left-hand side, click on the "Contacts" tab on the homepage.

Step 2: Add New Contacts
- Once in the Contacts section, locate and click on "Add Contacts" found on the upper right-hand side, positioned above the search bar.

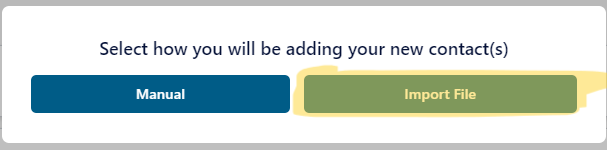
- A pop-up window will appear. Choose "Import File" to proceed.
Step 3: Upload Page
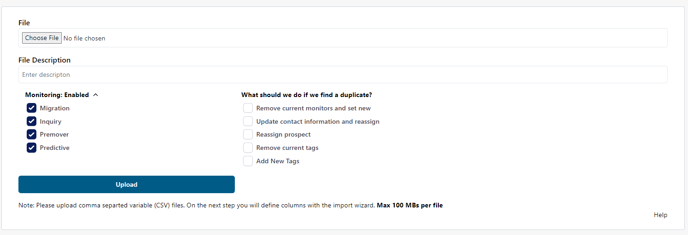
- You will be directed to the upload page. Add the file you want to upload.
- Enter a description for reference.
- Select the type of monitoring for the contacts and specify actions for duplicates. Here is a refresher on what our Monitoring Types do:
- Inquiry: Alerts you when a past client applies for a mortgage with a competitor
- Migration: Let's you know when someone goes from credit ineligible to credit eligible
- Predictive: It is based on a predictive model and lets you know when someone is likely in the market.
- Pre-Mover: Let's you know using non-prescreened data when your prospect's address on file is listed for sale, rent, or "for sale by owner.”
- If you are uploading a file that might contain duplicate prospects or prospects you have already uploaded, you should look at these next two checkboxes. The first one will reassign a prospect’s group and select monitoring to what you have specified if it is different from what it currently has. The next one will update a prospect’s information, owner, and CRM ID. You can check one or both.
- Click "Upload"
Step 4: Initiate Upload
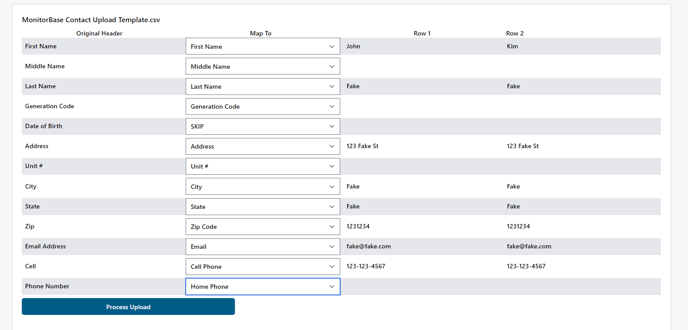
- You can now map the file you uploaded. Make sure you map this correctly so your prospects upload how you want them to. Simply match First Name to First Name, City to City, etc.
- We have many different options for mapping, but if we don’t have some information listed that you would like to keep with your prospect in our system, you can use up to 5 custom headers.
- We've also provided options that include interest rate (formatted like X.XXX%), loan amount, loan type, loan purpose, and loan source, but the only fields that are required are First Name, Last Name, Address, City, State, and Zip Code. Contact information is recommended, but everything else you include is up to you!
- Click "Process Upload"
Step 5: Specify Contact Recipients
- You'll be prompted to indicate who should receive these contacts. Choose the correct account.
- Once done, select "Finish Upload."

Step 6: Review Upload Results
- You will be taken to the upload results screen. Here, you can view the number of new contacts added, duplicates, and any append successes.

These steps should guide you through the process of adding contacts to the system. If you have any questions or need further assistance, feel free to reach out to Support@monitorbase.com